How to list your property on Airbnb
How to list your property on Airbnb?
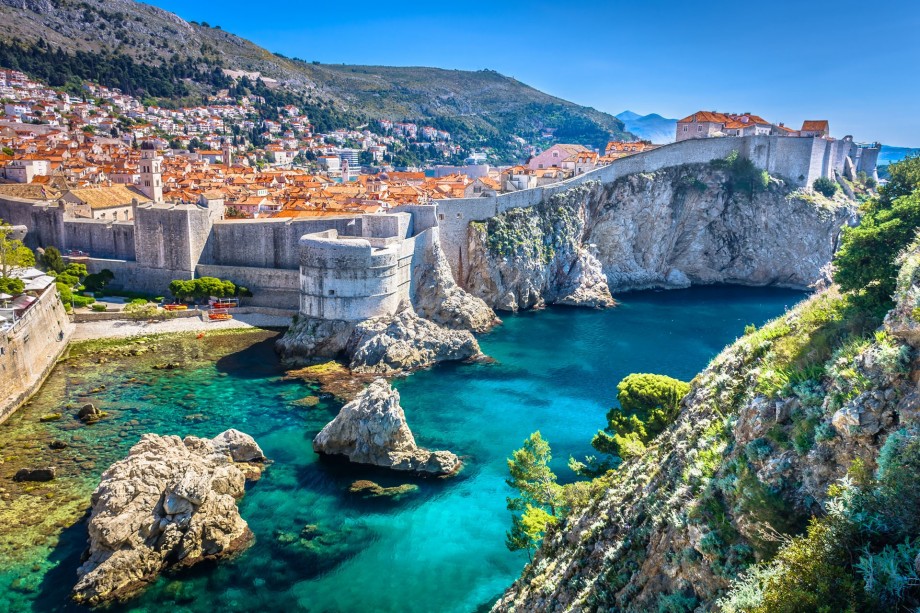
If you are the owner of a villa for rent or a holiday home, then you are probably familiar with the leading sites for advertising luxury villas. When we talk about the most famous platforms for advertising villas, Airbnb certainly belongs there.
The vast majority of owners leave the advertising of luxury villas to agencies, such as HomeRent itself. Some of the owners manage their own ads on the Airbnb and Booking com platforms, and then possibly give agencies the right to advertise on their own websites. Whether you manage the ads yourself or have left them to an agency due to lack of time and familiarity with the platforms, we bring a short guide for everyone who needs a little help with creating ads on the Airbnb page and notes on what to pay special attention to when creating ads.
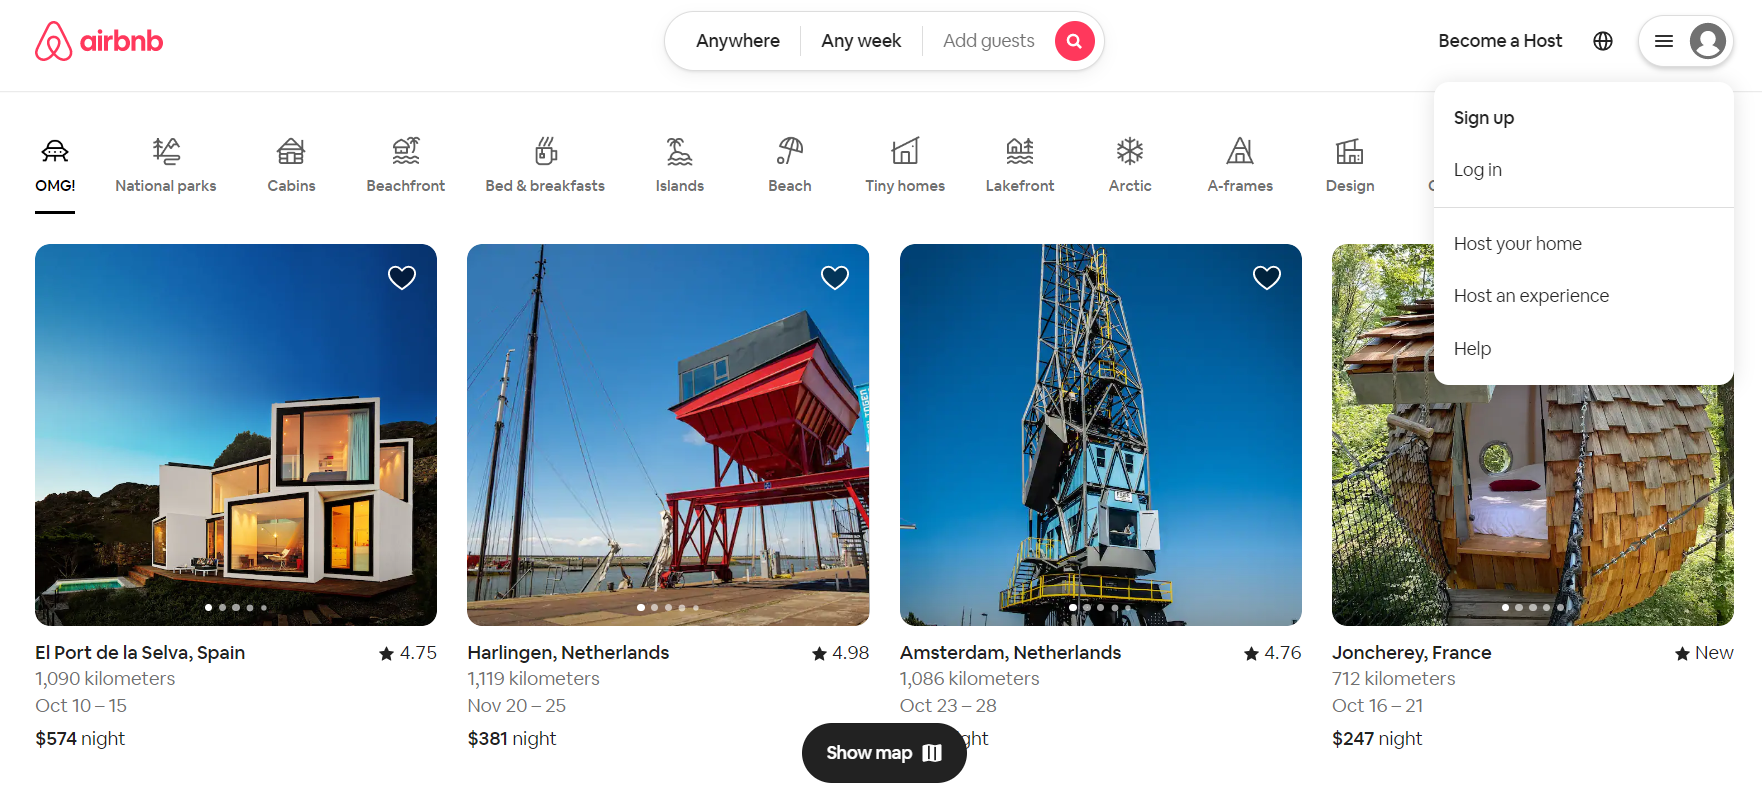
Step 1 - In order to make and ad on the Airbnb site, you must first register, i.e. create a user account. You can do this on the Airbnb homepage in the upper right corner where it says "Sign up".
Step 2 - When you have created a user account and verified it via the link you received in the mail, you can select "Become a host" on the home page. Selecting this option opens the initial settings for the listing your property on Airbnb. In the following questions, you will be able to set the basic conditions and facilities, and later you will be able to add many more details when the user interface opens for you as a host.
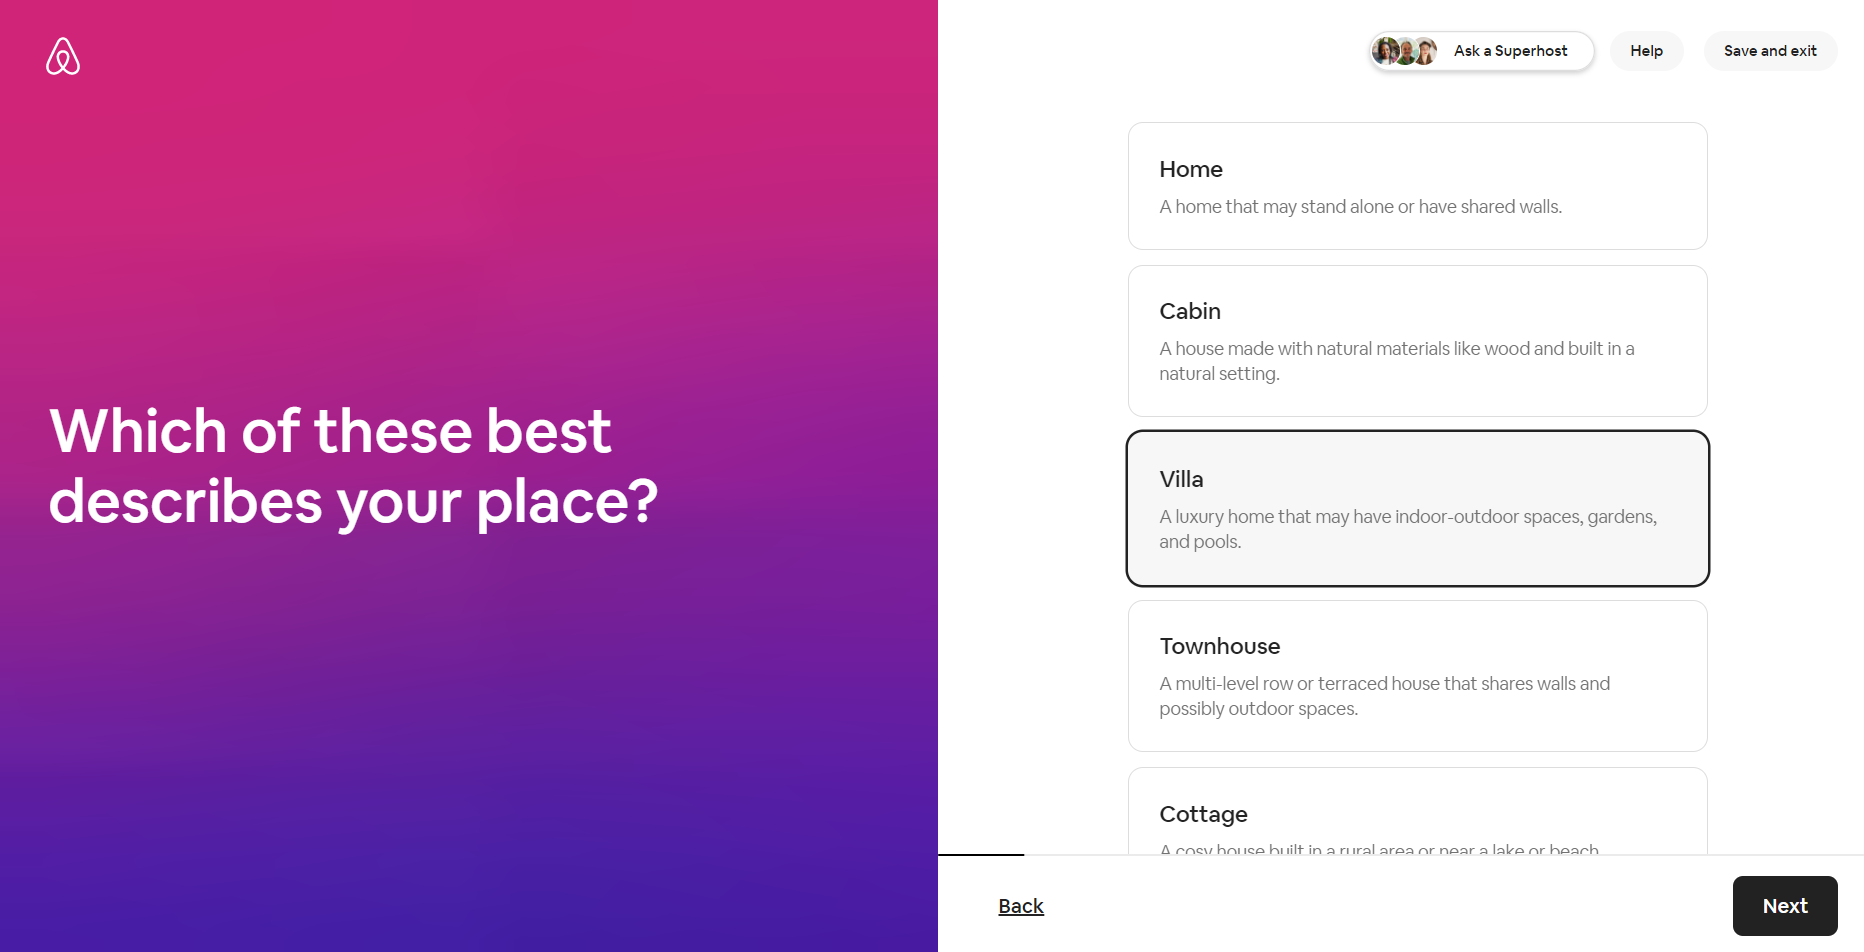
Step 3 - The first question concerns the type of your accommodation. All villas, i.e. advertising of holiday homes and advertising of luxury villas, fall under "House".

Step 4 - Next, the question of a more precise description of the type of your "House" opens up. This is a very important step because when searching for accommodation, guests often filter their search according to the object category to simplify and speed up their search for the ideal accommodation according to their criteria.
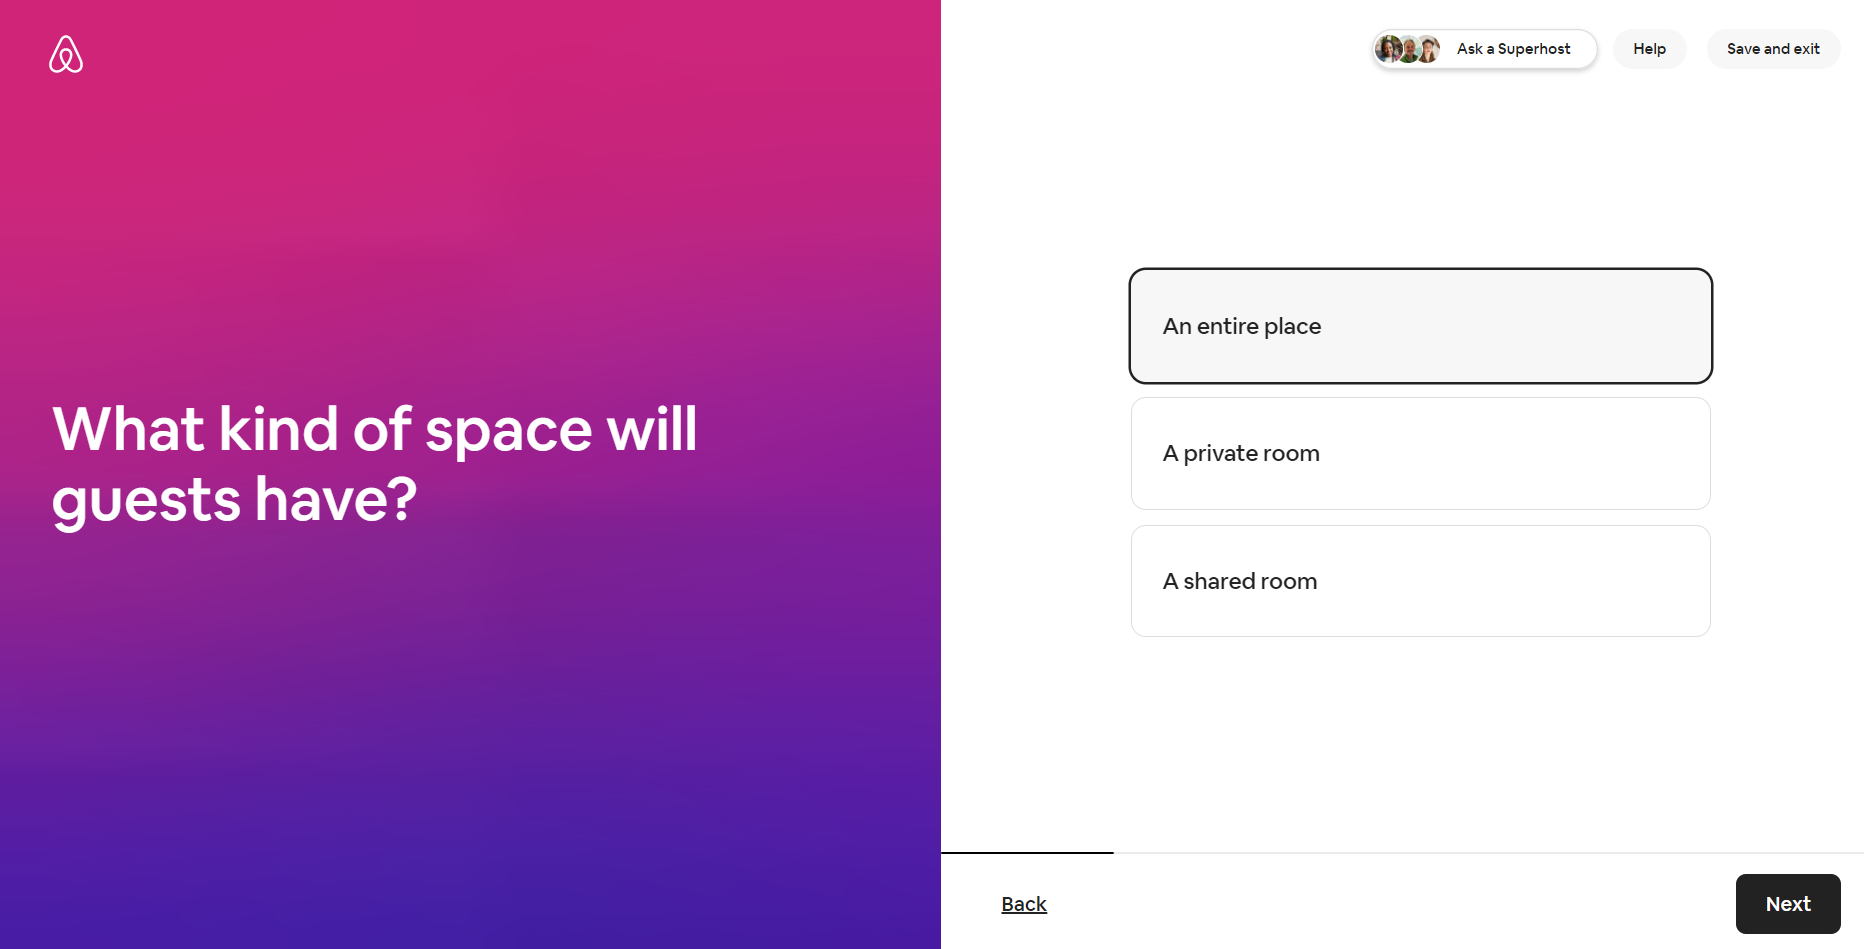
Step 5 - In the next step, it is important to choose that you are renting the entire villa, not just a part of it. By making the wrong choice, your guests can get the information that they are not alone and that they have no privacy in the facility when they rent your villa. This is important to distinguish if you have a holiday villa with a pool where you rent apartments individually.
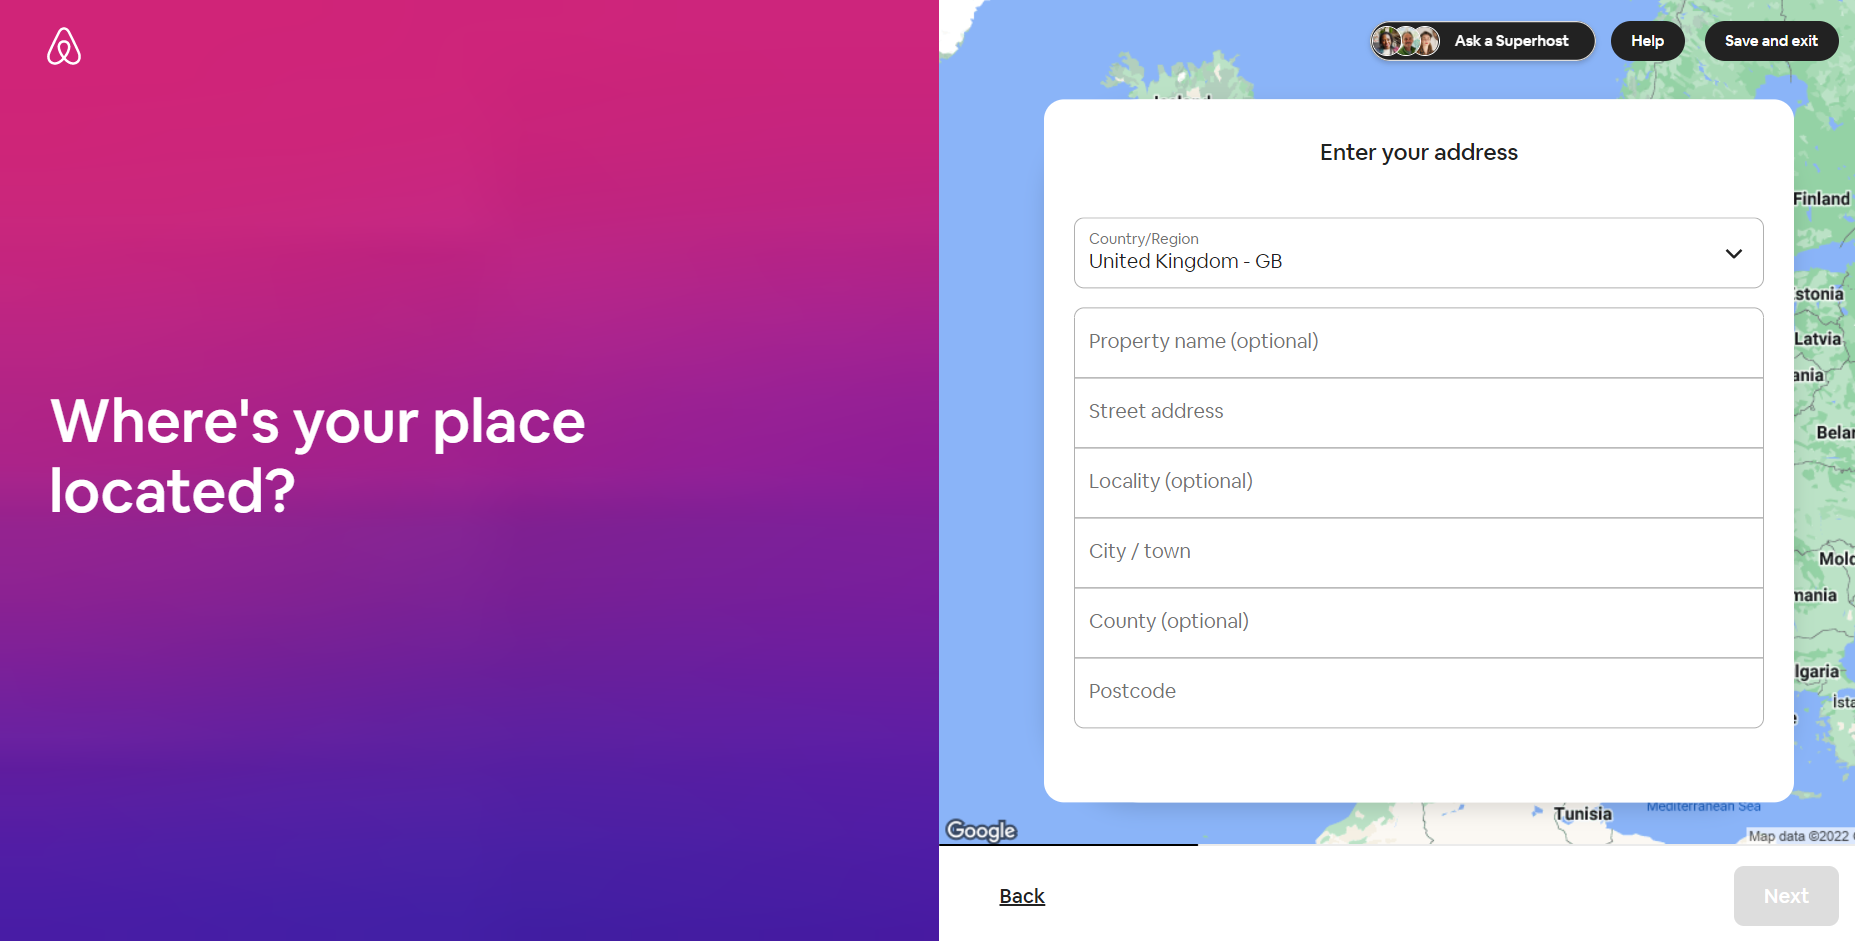
Step 6 - Next, enter the exact address and mark the location on the map. You can update the location later, but make sure that it is selected as precisely as possible to make it easier for guests to arrive at your luxury villa.
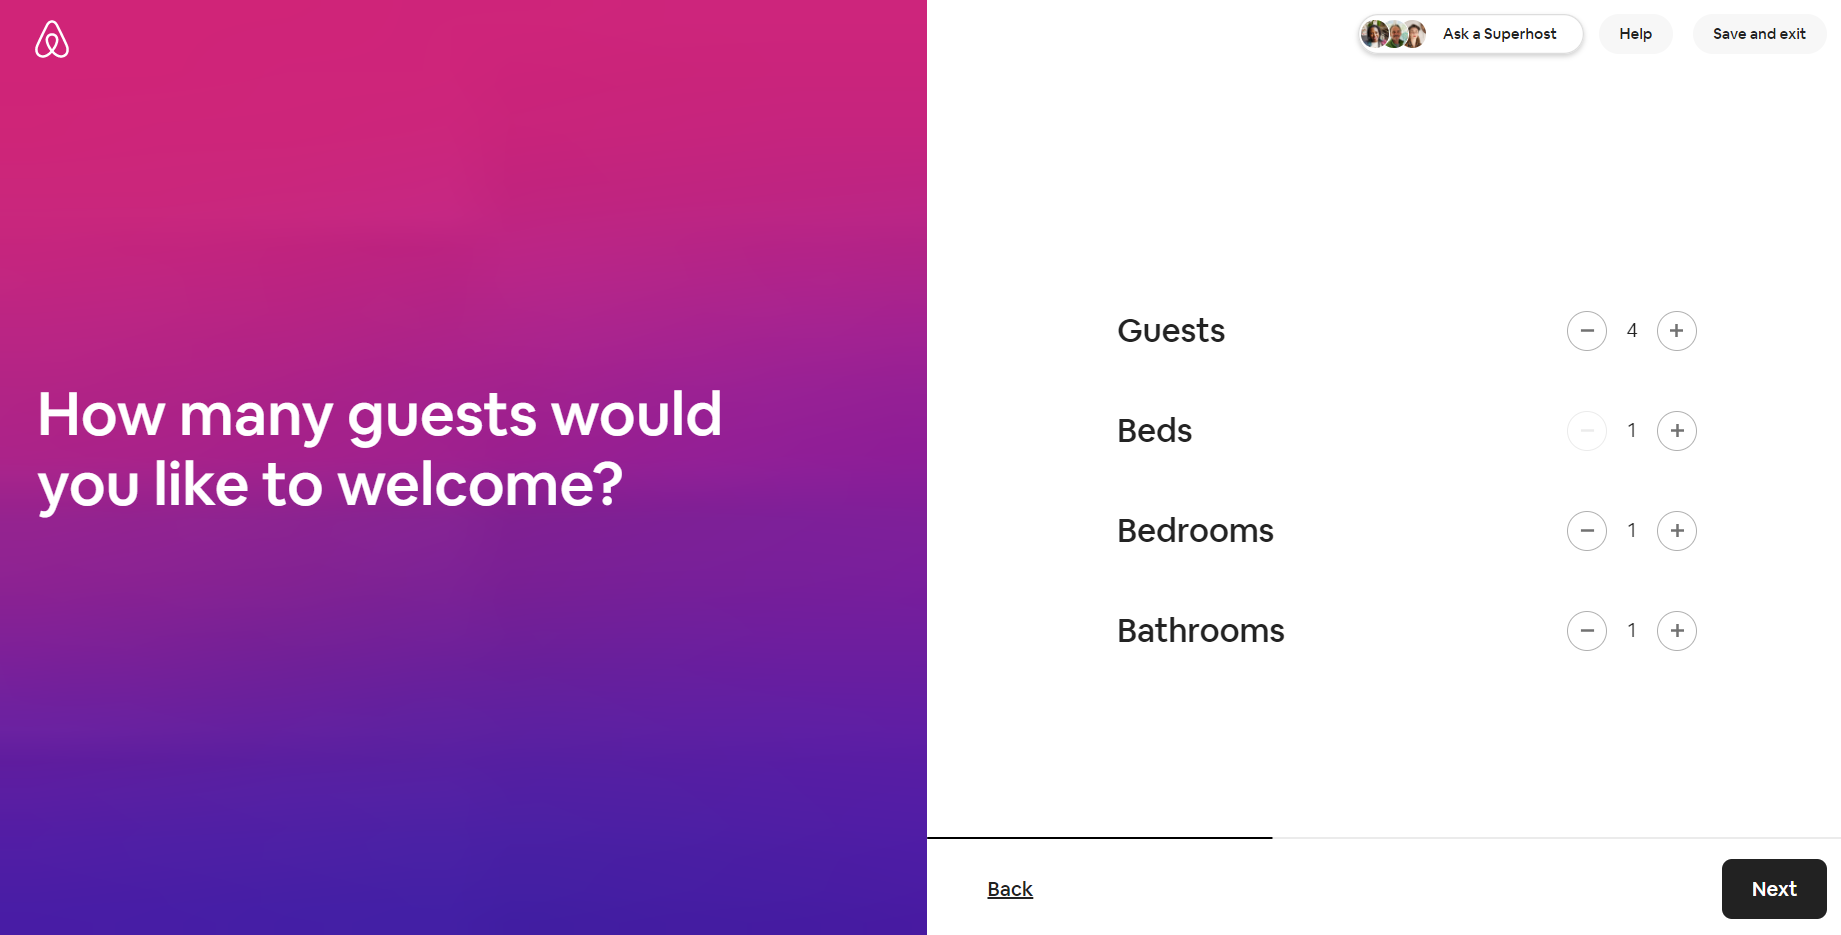
Step 7 - In the next step, you set the number of people, rooms, beds and bathrooms. You can update the details later in the user interface. So in this step you cannot set, for example, the size of the bed or the content of the bathroom, but you will be able to set it later.
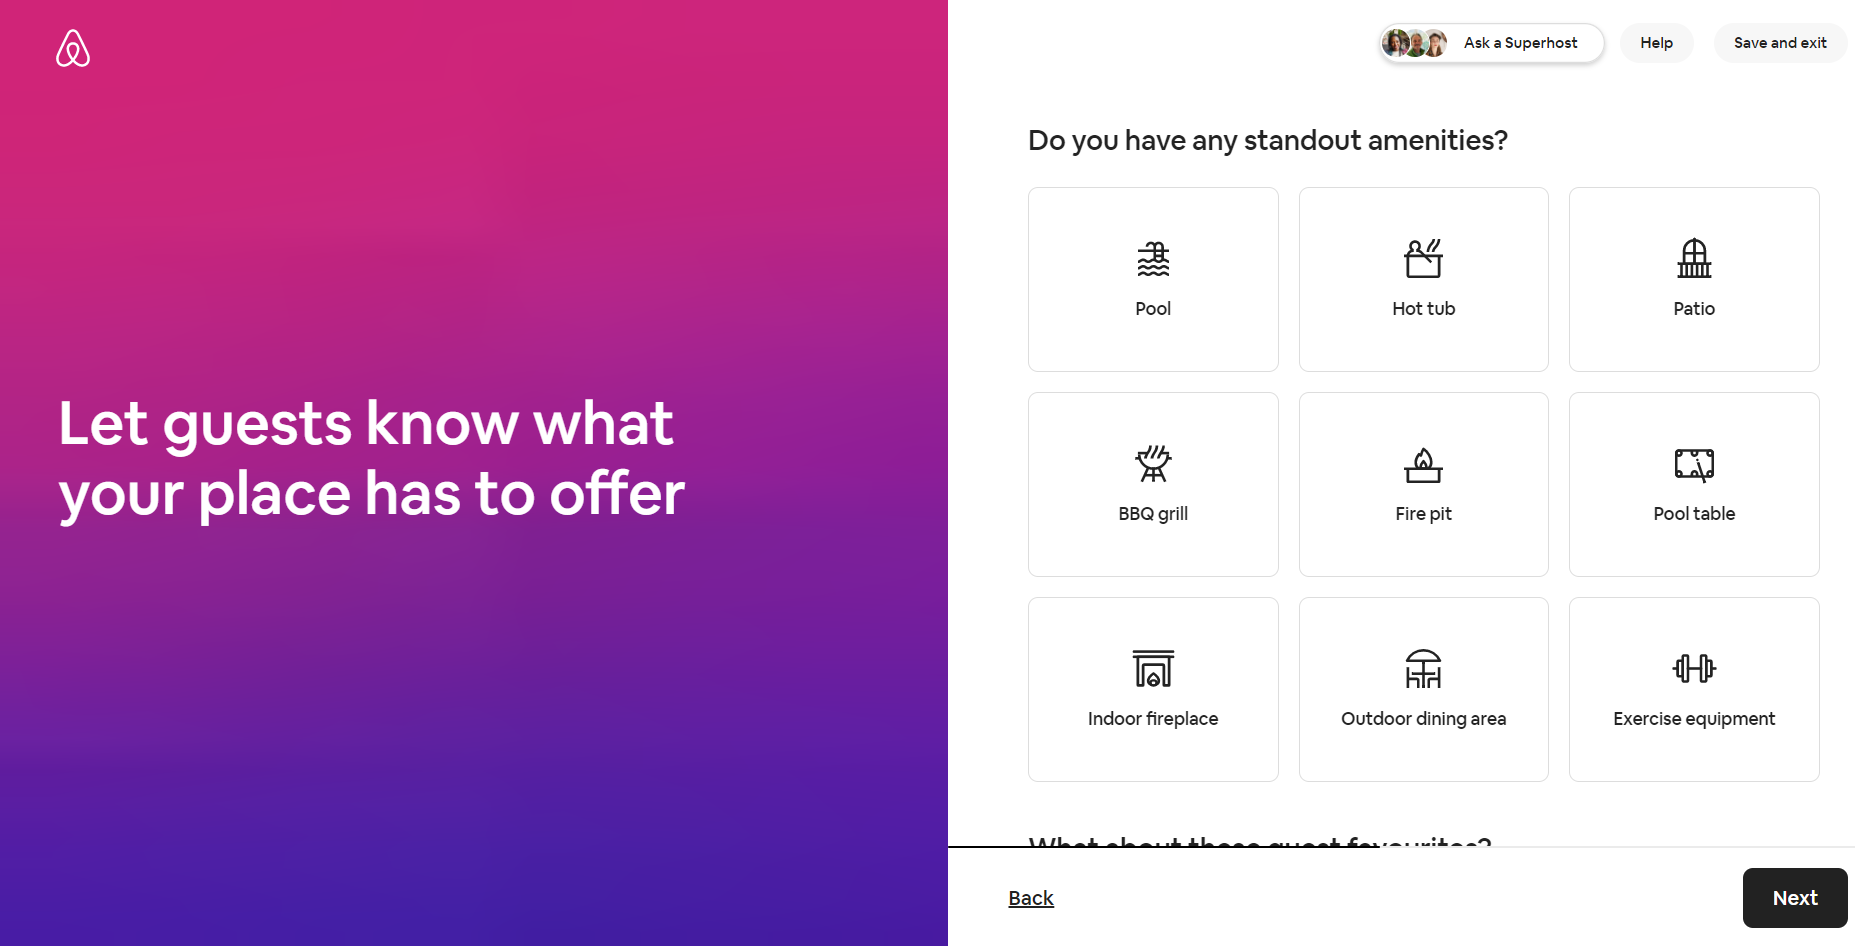
Step 8 - Next, choose what you offer in your luxury villa for rent and mark the facilities and services that are available to guests.
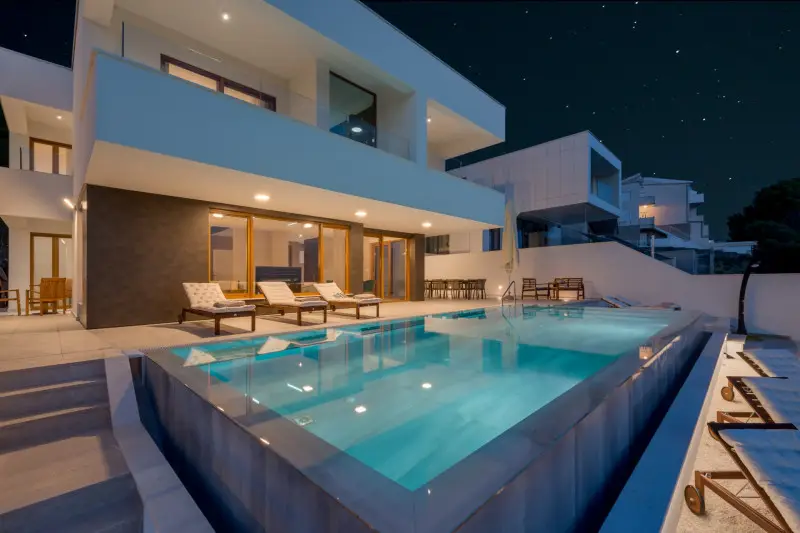
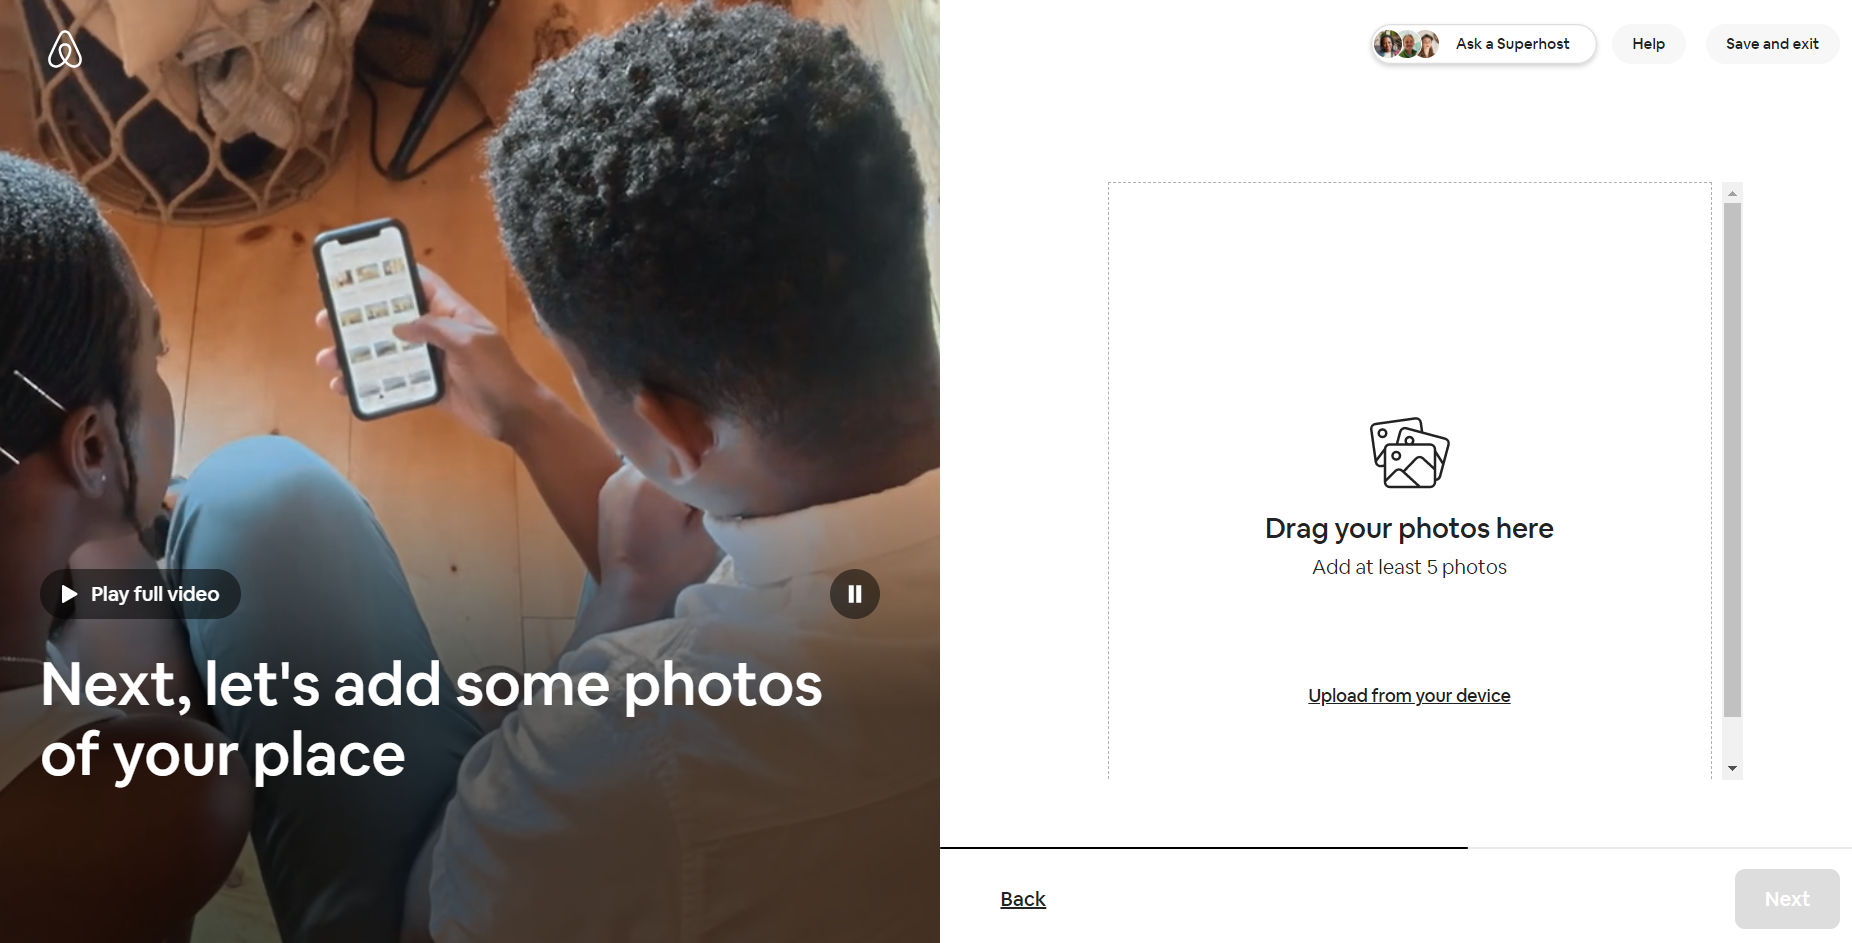
Step 9 - In the next step, you are already selecting photos and uploading them! You need a minimum of 5 photos, just like on Booking. We could say that even the birds on the branch know everything about the importance of the photos themselves when renting and advertising luxury villas! With high-quality photos, you can highlight and show the best of your luxury villa for rent. Make sure to show all the rooms, especially highlight the view from the villa, the pool and all the additional facilities of your luxury villa. It is very important that you bring your facility to potential guests as precisely as possible even before the reservation and arrival so that they can get a complete impression of the villa and its location.
Step 10 - Next, you choose the name of your luxury villa for rent at Airbnb.
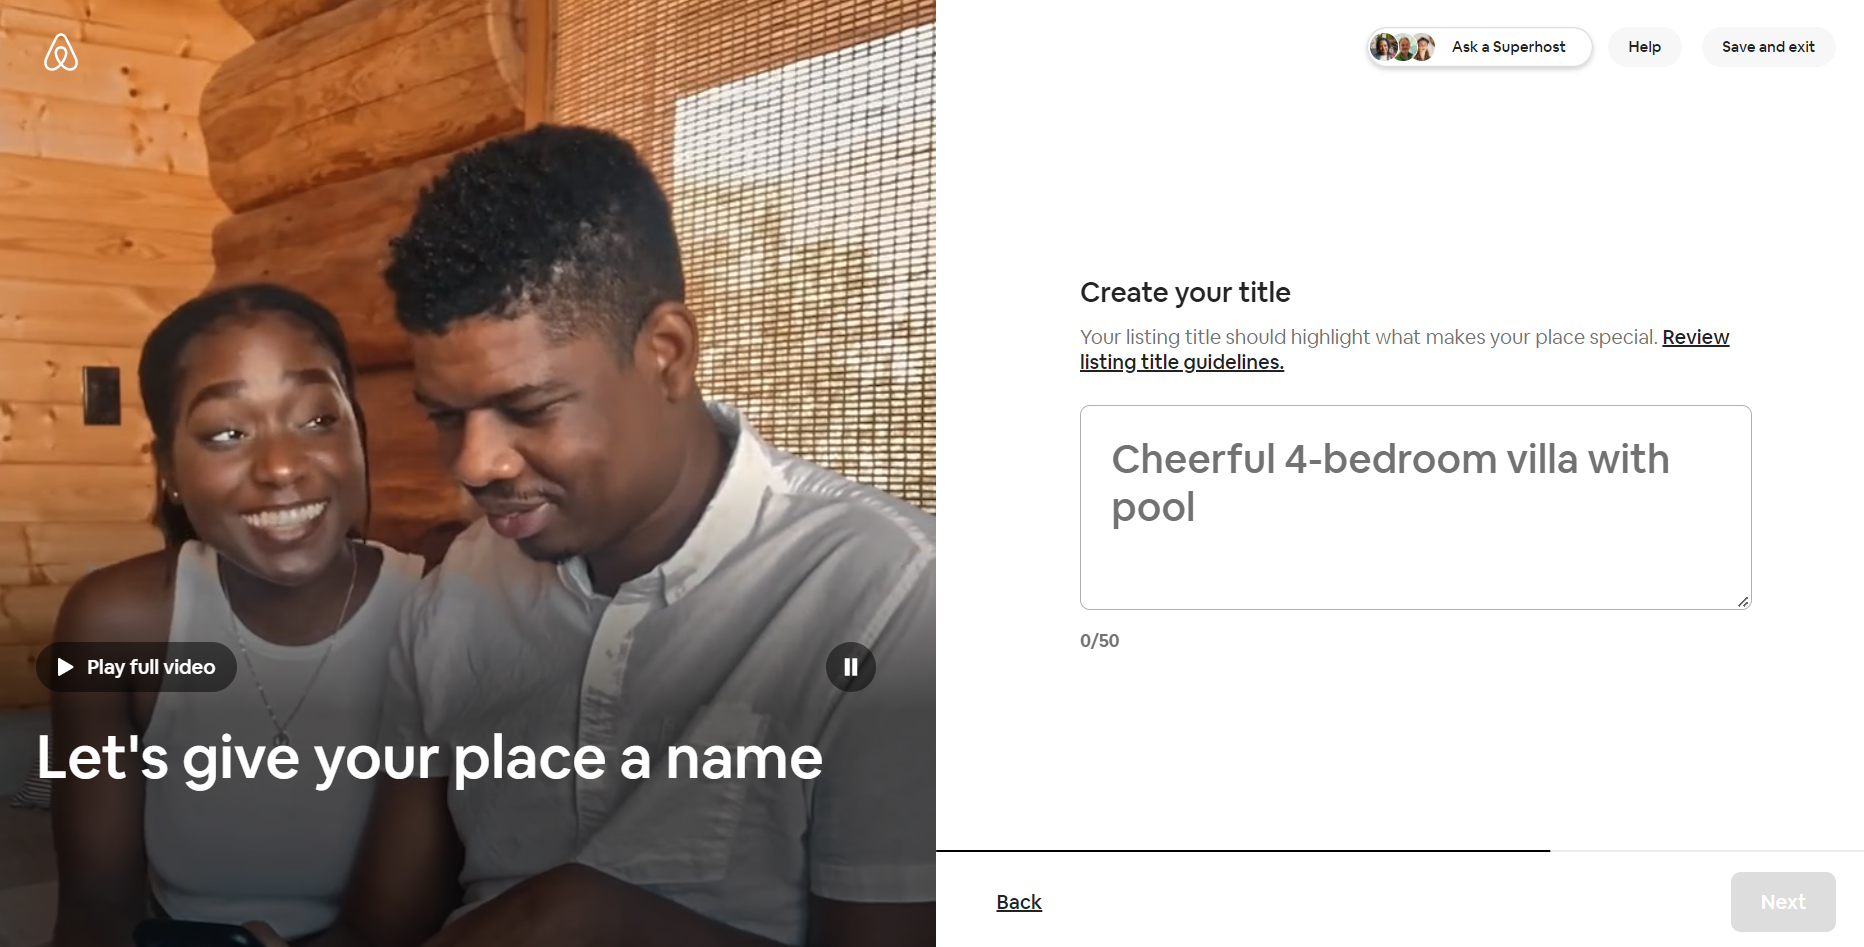
Step 11 - By choosing the special features you want to highlighte, you can describe your villa for rent in detail.

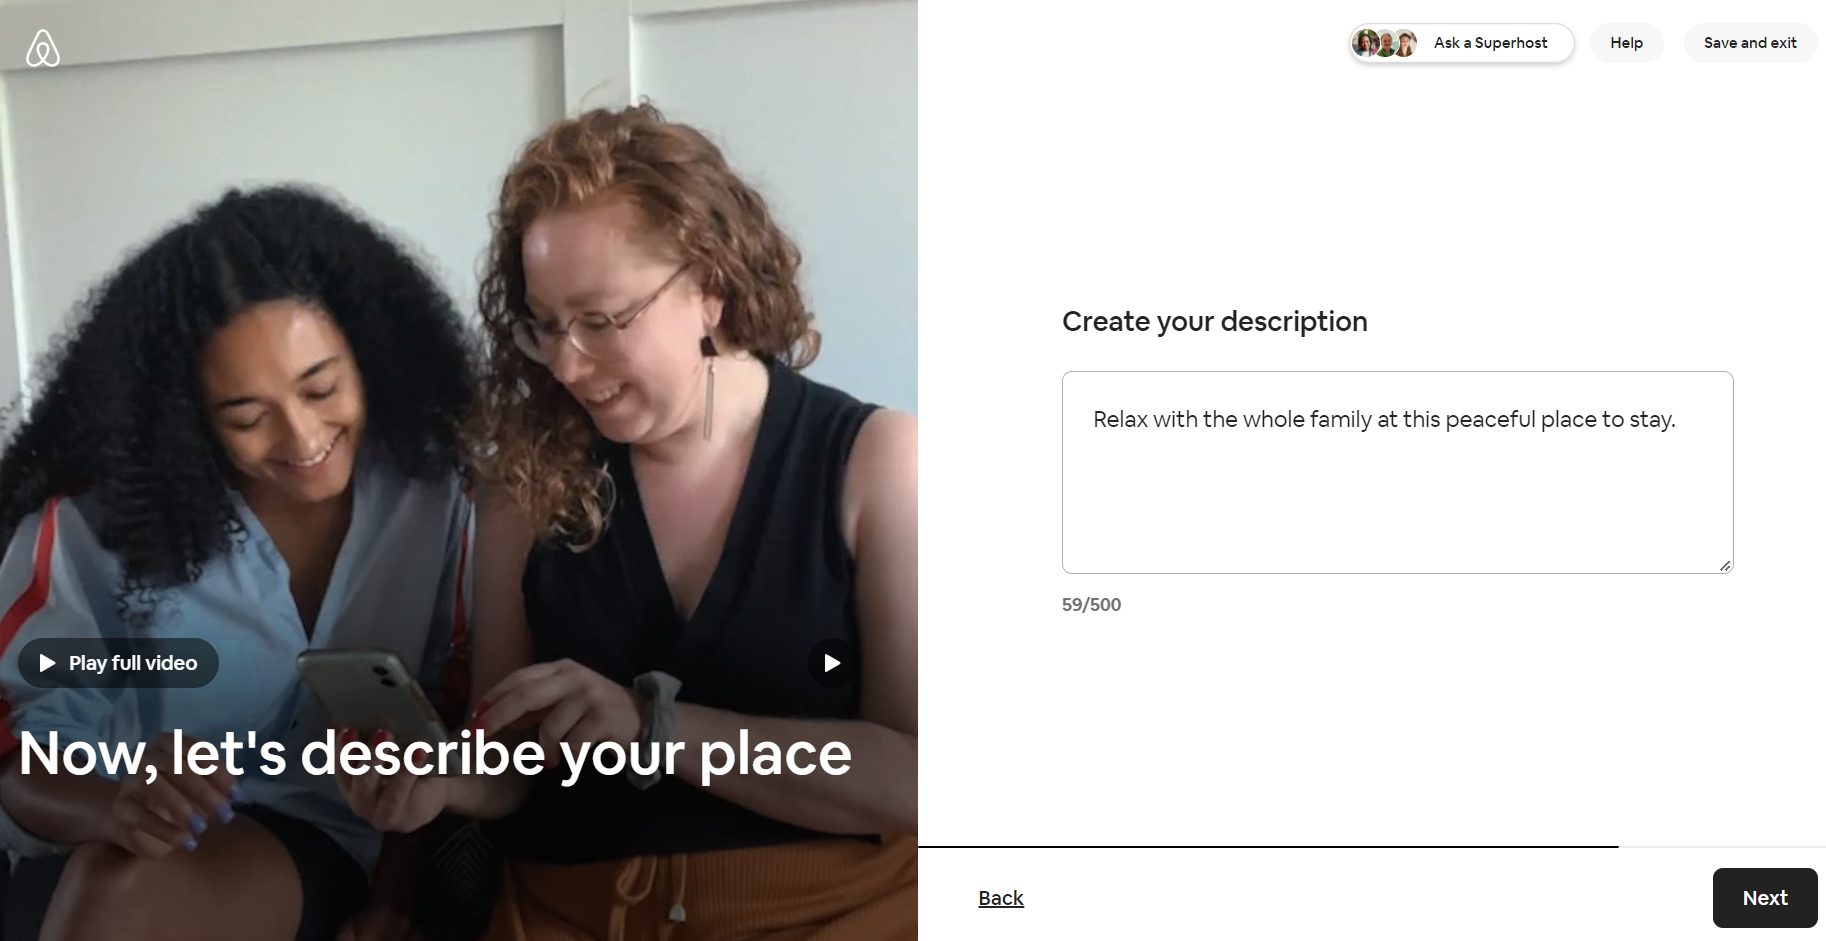
Step 12 - Next, enter a description of your villa for rent. You can later update the description at any time. Make it meaningful, but not too long. Airbnb itself limits the description with the number of characters allowed.
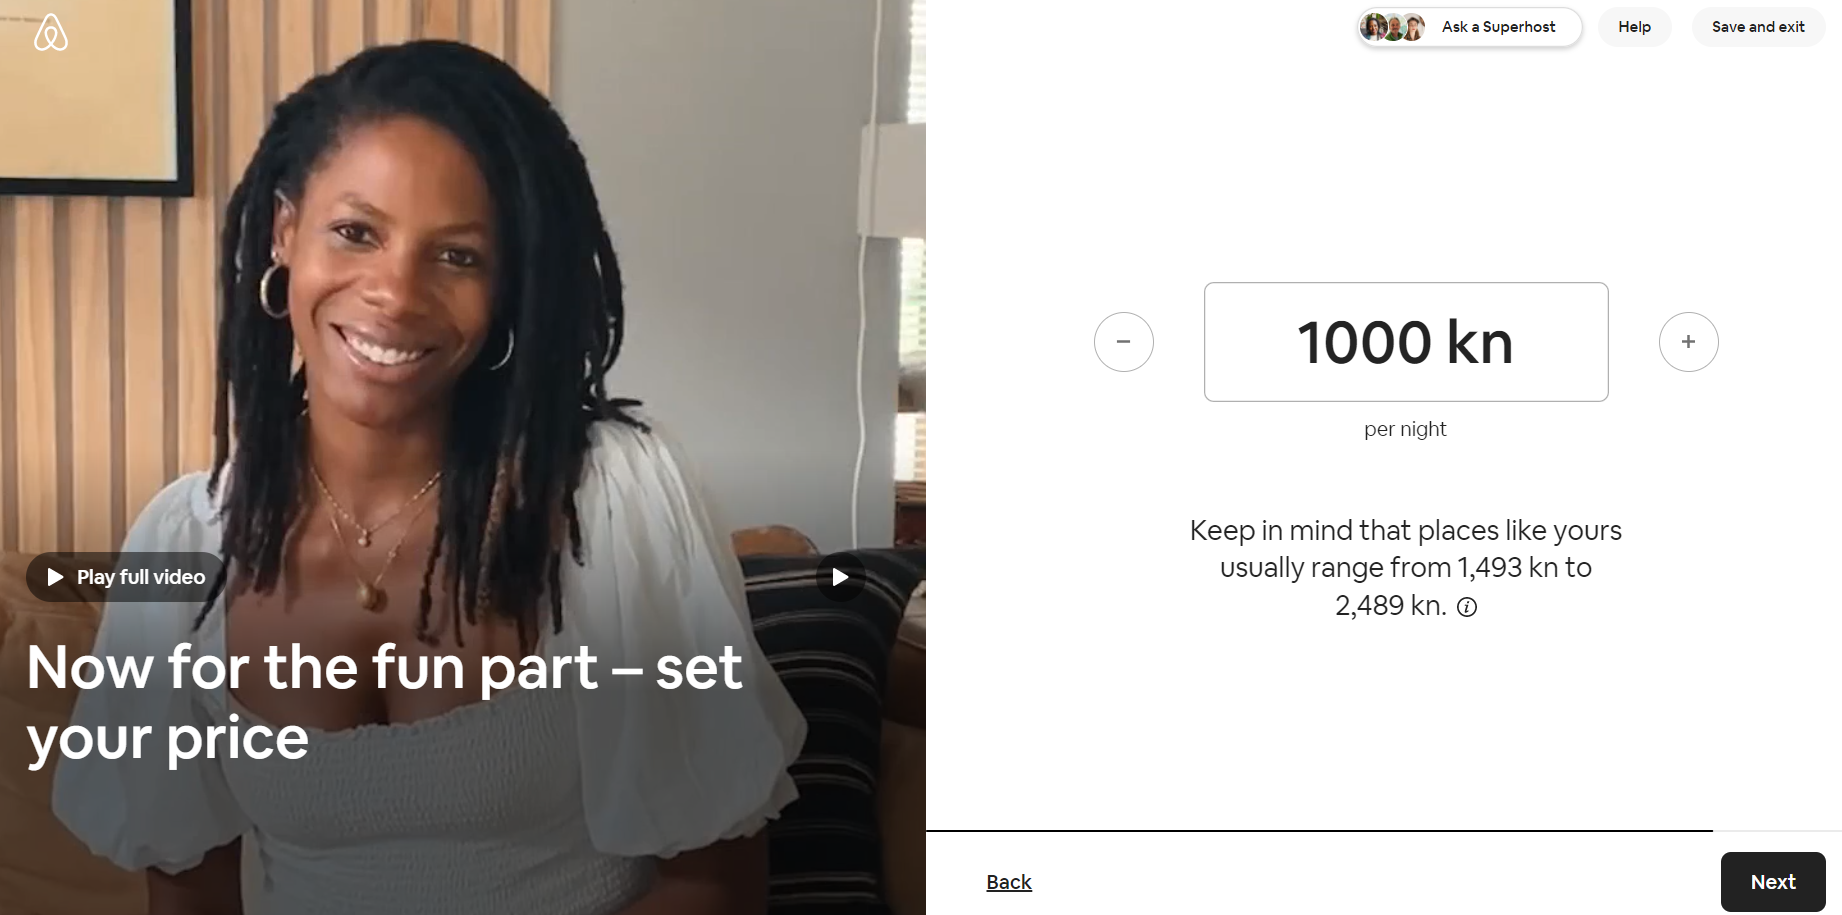
Step 13 - In the next step, you set the base price per night, and later you will be able to change prices by period in the calendar in the user interface.
Step 14 - Next, Airbnb asks a few questions about you as a host and your rental villa.
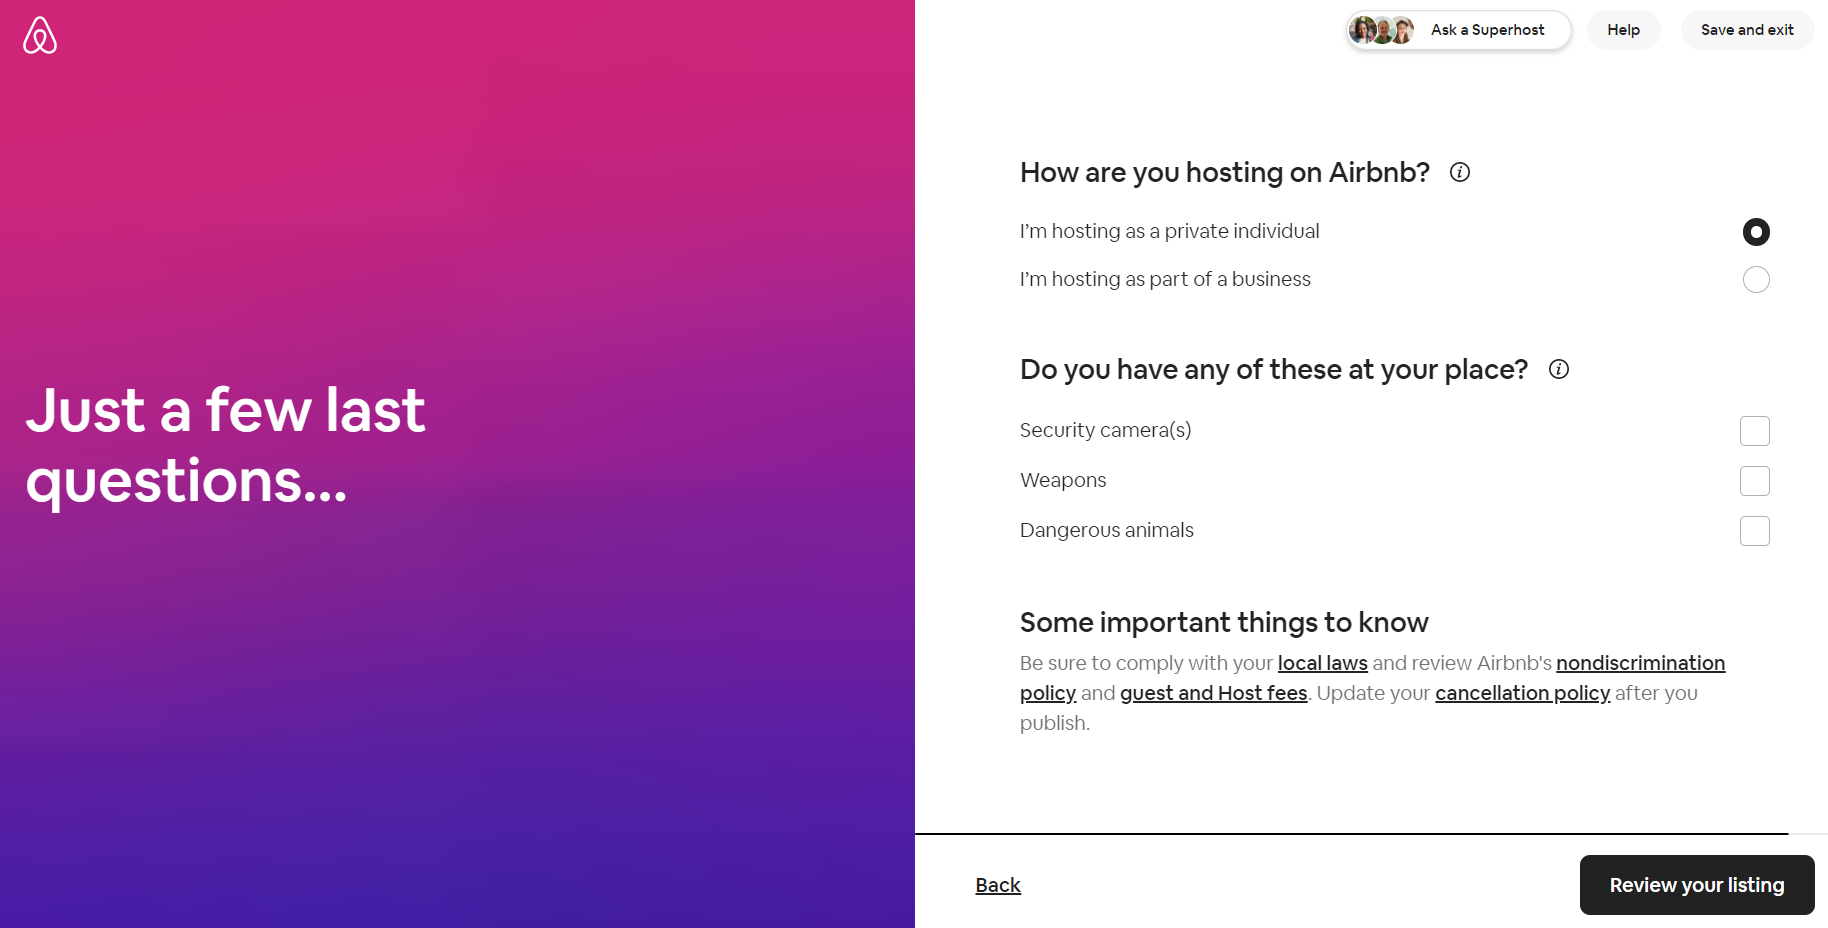
Step 15 - In the next step, you can confirm everything and publish your ad! Please note that in the initial settings that you complete in this section, you did not have the option to enter restrictions in the form of a minimum number of nights, days of arrival and departure, any additional content or IBAN for payment of reservations. Many more options and details await you in the created user interface of the villa for rent.

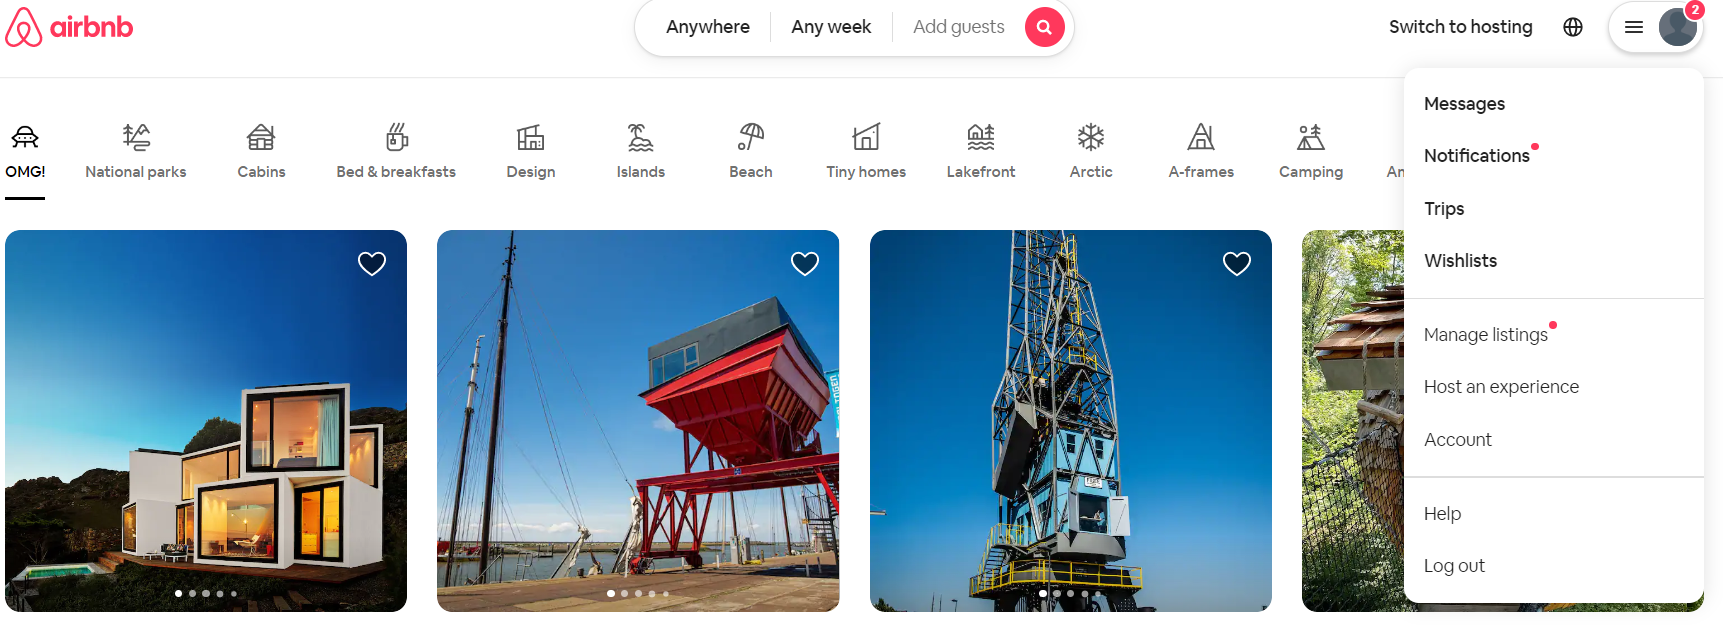
Step 16 - You enter the object's user interface by logging in and selecting "Switch to hosting" or "Manage listings" in the upper right corner on Airbnb page.
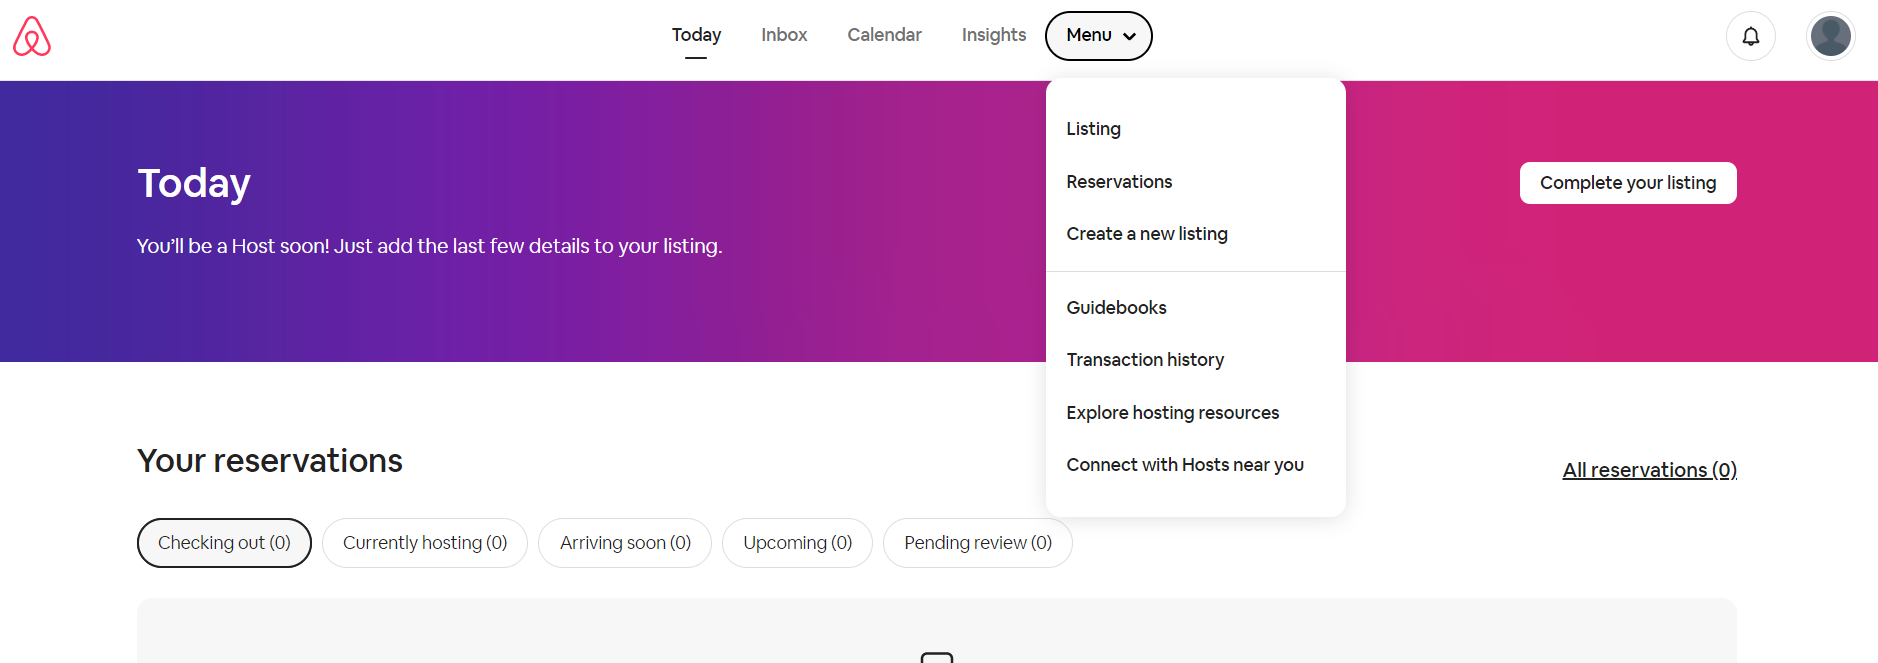
Step 17 - Then under „Menu“ choose „Listings“.
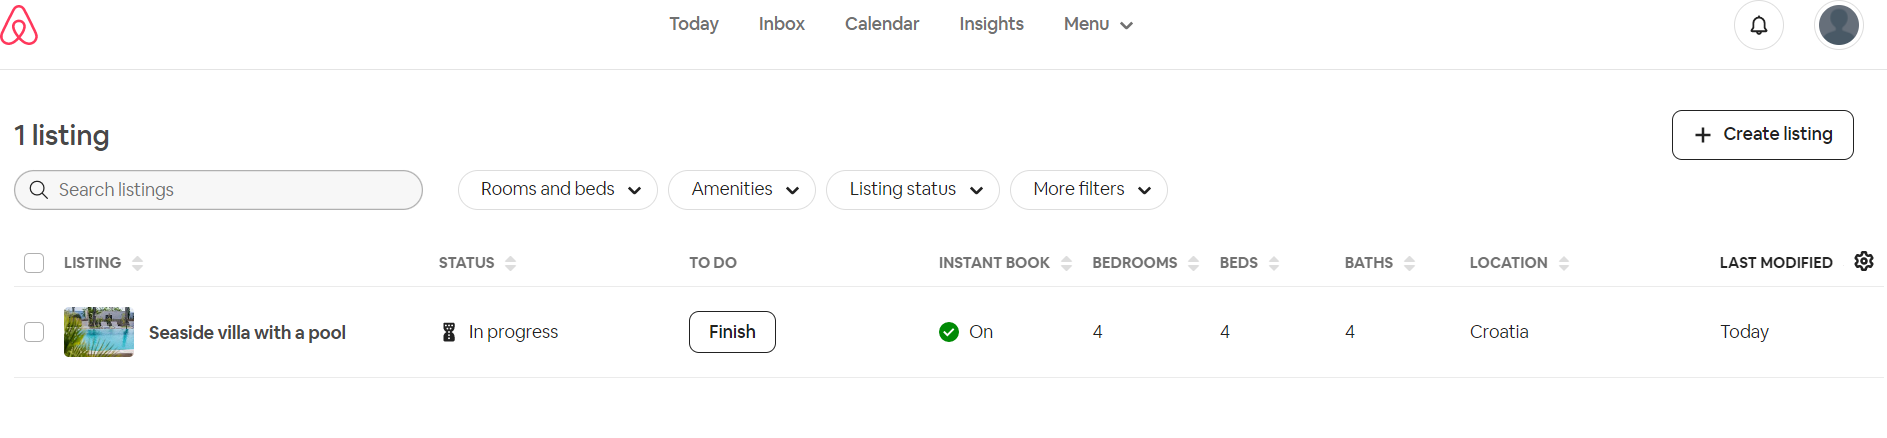
Step 18 - Your luxury villa for rent will be shown here. By clicking on the name of the villa, you enter the ad settings.
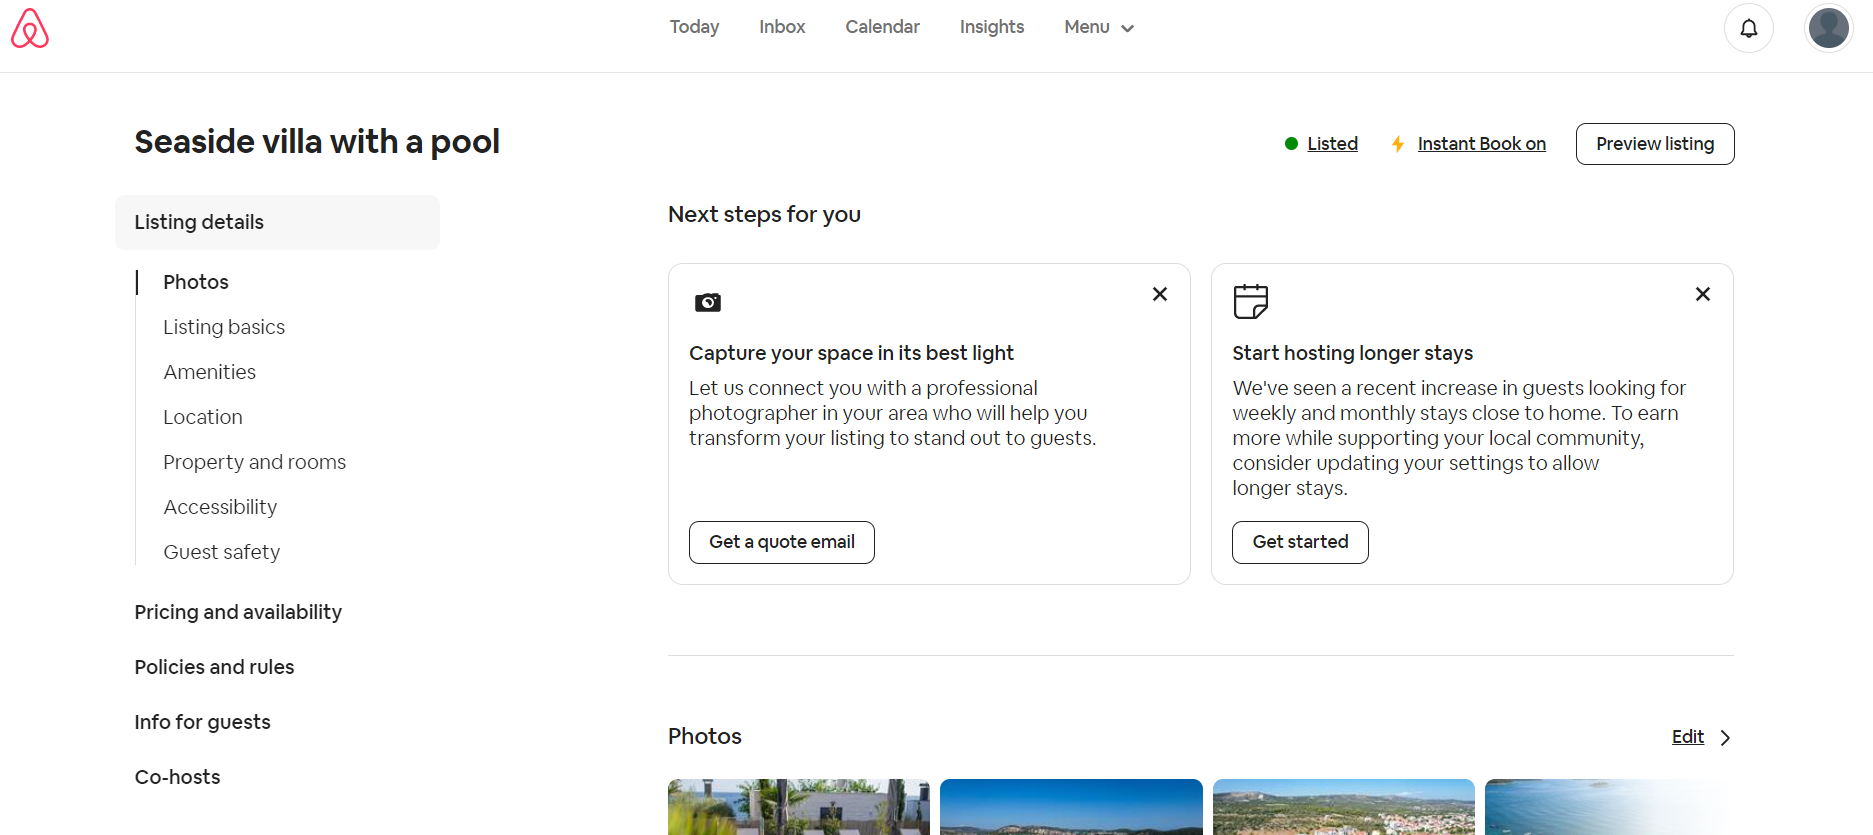
As soon as you are in the settings, Airbnb itself suggests what else to fill in or complete. You can check and review everything in the ad from the drop-down menu on the left.
Under "Amenities", be sure to add more equipment that the villa contains or services that you offer, since the selection of content was very small in the initial set up of the ad. Under "Property and rooms", list the exact number of bedrooms, bathrooms, toilets and all other rooms. There you can immediately assign uploaded photos to a specific room. Within "Prices and availability", you must immediately set the prices for certain periods, because you did not have the option to enter this during the initial setup of the listing, you could only enter the base price. Also, set a minimum number of days of stay and if you want to check in or check out on a specific day, then set that restriction as well.
Under "Policies and rules" you can change the cancellation policy, adjust the house rules, edit the instant booking option and much more.
By clicking on "Menu" you can select "Reservations" and get to the list of all valid reservations for your facility. Within each individual reservation is an Airbnb invoice for their commission. Within each reservation there are also messages that you exchange with the guest. There you can also create templates to make it easier for you to always share the same information.
Unlike Booking com, on Airbnb there are no finances or invoice section under each property, but these items are linked to your user account. IBAN and payments can be entered and tracked by clicking on the user account icon in the upper right corner and select "Account". Then under "Payments and payouts" you can set all the important information related to payouts and review when they were made.
A certain number of owners of villas for rent do not have time to manage ads, to make sure everything is set up correctly at all times, and to respond to guests' messages. That's why the HomeRent agency is here. In addition to advertising on our website HomeRent, the owners always have the option of running a Booking and Airbnb ad for your villa! Feel free to contact us via the contact form if you are looking for an agency for advertising luxury villas in Croatia.
Written by: Goran Vuković
Croatia Travel Blog